
Introduction
So this happened, I started painting the miniatures figurines of my beloved HeroQuest. Ever since I was a wee kid I dreamed of having a full-colour edition of my heroes and monsters. When I was twelve I tried to paint some minis but this resulted in figurines that were only put in action if all other minis were already on the game board. I stored that dream far away, thinking I’d never be able to pull off the tiny armies I admired when passing the Warhammer shops.
And then, last month, I read this article: “A controversial new product gives me the confidence to paint more miniatures -Citadel Contrast paints are tremendous for novice painters, or those intimidated by the hobby”
Of course, I was quite sceptical. No way a paint exists that novice people could use to actually get decent results. I started looking up reviews and the summary was always: “an interesting addition to my existing set, not much more…but a great start if you never painted before.” The title already spoiled it of course: I bought myself a collection of the Citadelcontrasts paints, a primer spray can and loaned some brushes from a friend.
Why are they interesting for beginners?
 The new contrast paints have the benefit of already giving nice results with a single coat. Previously one had to prime, layer, wash, highlight, etc (terms I just looked up) before having a decent mini. Only after several layers would a figurine dare to step on the board. With contrast paints, not so. Just a single prime and then apply the contrast paint.
The paint is a bit oily and has very strong pigments, the result is that the paint ‘crawls’ inside recesses and details and will be darker in those places. The effect is immediately awesome. In fact, the second figurine I painted was this devourer(from The 7th Continent expansion “Fear the devourers”) and I immediately was hooked with the results.
This is how the devourer turned out after one layer of paint.
Of course, I made mistakes. The nice thing is however that they can be fixed very easily: a can of white base paint and a brush with a very fine tip is all you need to paint over mistakes. After a few minutes of drying, you can then reapply the colour you need.
Tips and things I learned
Ok, before indulging you with my epic results, here are some pointers I’d like to share. Perhaps it will help you decide to give painting a try and discover that you don’t need an arts degree to get decent results.
- Clean your brushes. Duh. But more importantly, never let the paint soak to the end of the brush. As long as you only ‘fill’ the tip your brush will stay top-notch.
- Cut off any strands on your brush that aren’t neatly part of the tip. It happens, one single strand that, when filled with paint, will kill the surrounding your meticulously are trying to paint. Simply cut off this part.
- Plan your colours: look up what each detail on the mini means and plan accordingly. I usually start with the main colour and put it quite rapidly everywhere I need it without really making sure I don’t cross to sections that don’t need that colour. I then apply paint to other ‘large sections’ of the mini, first those that aren’t adjacent to already painted parts. I then fix with base paint where needed and start with the smaller parts.
- Let the tip of the brush fill and the tip will automatically ‘close’ in a more pointy one. So it’s okay if your brush, when dry, has a less sharp tip
- When fixing with Wraithbone base paint, keep your brush wet: the base paint is a bit thicker and after a few coats your brush will get harder making it less easy to paint details. Simply wash your brush every few coats.
- Use the Citadel Mobile app: it contains great tutorial movies and some useful guides on how to create certain colours or paint specific minis.
- Read this very big review on contrast paints and print it the handy colour charts!
- Keep notes of the colours you use when painting a mini. At the one hand, it’s useful if you need to correct something later. On the other hand, it’s a handy reference: “ok, this mini will be like the colour on that existing one. Let’s look up what colour I used”


HeroQuest unite
From there on I steamed forward and painted my whole HeroQuest army in several nights. The joy of these contrast paints is that you can actually paint rather quickly and make mistakes that can be fixed later on.
The undead first
I started with the mummies and the skeleton, both are very contrast-paint friendly: they only require 3 colours and have, except for the eyes, no small details. Notice the base, which was made using a ‘technical’ paint that gives this result ‘out of the box’ (but is quite expensive):

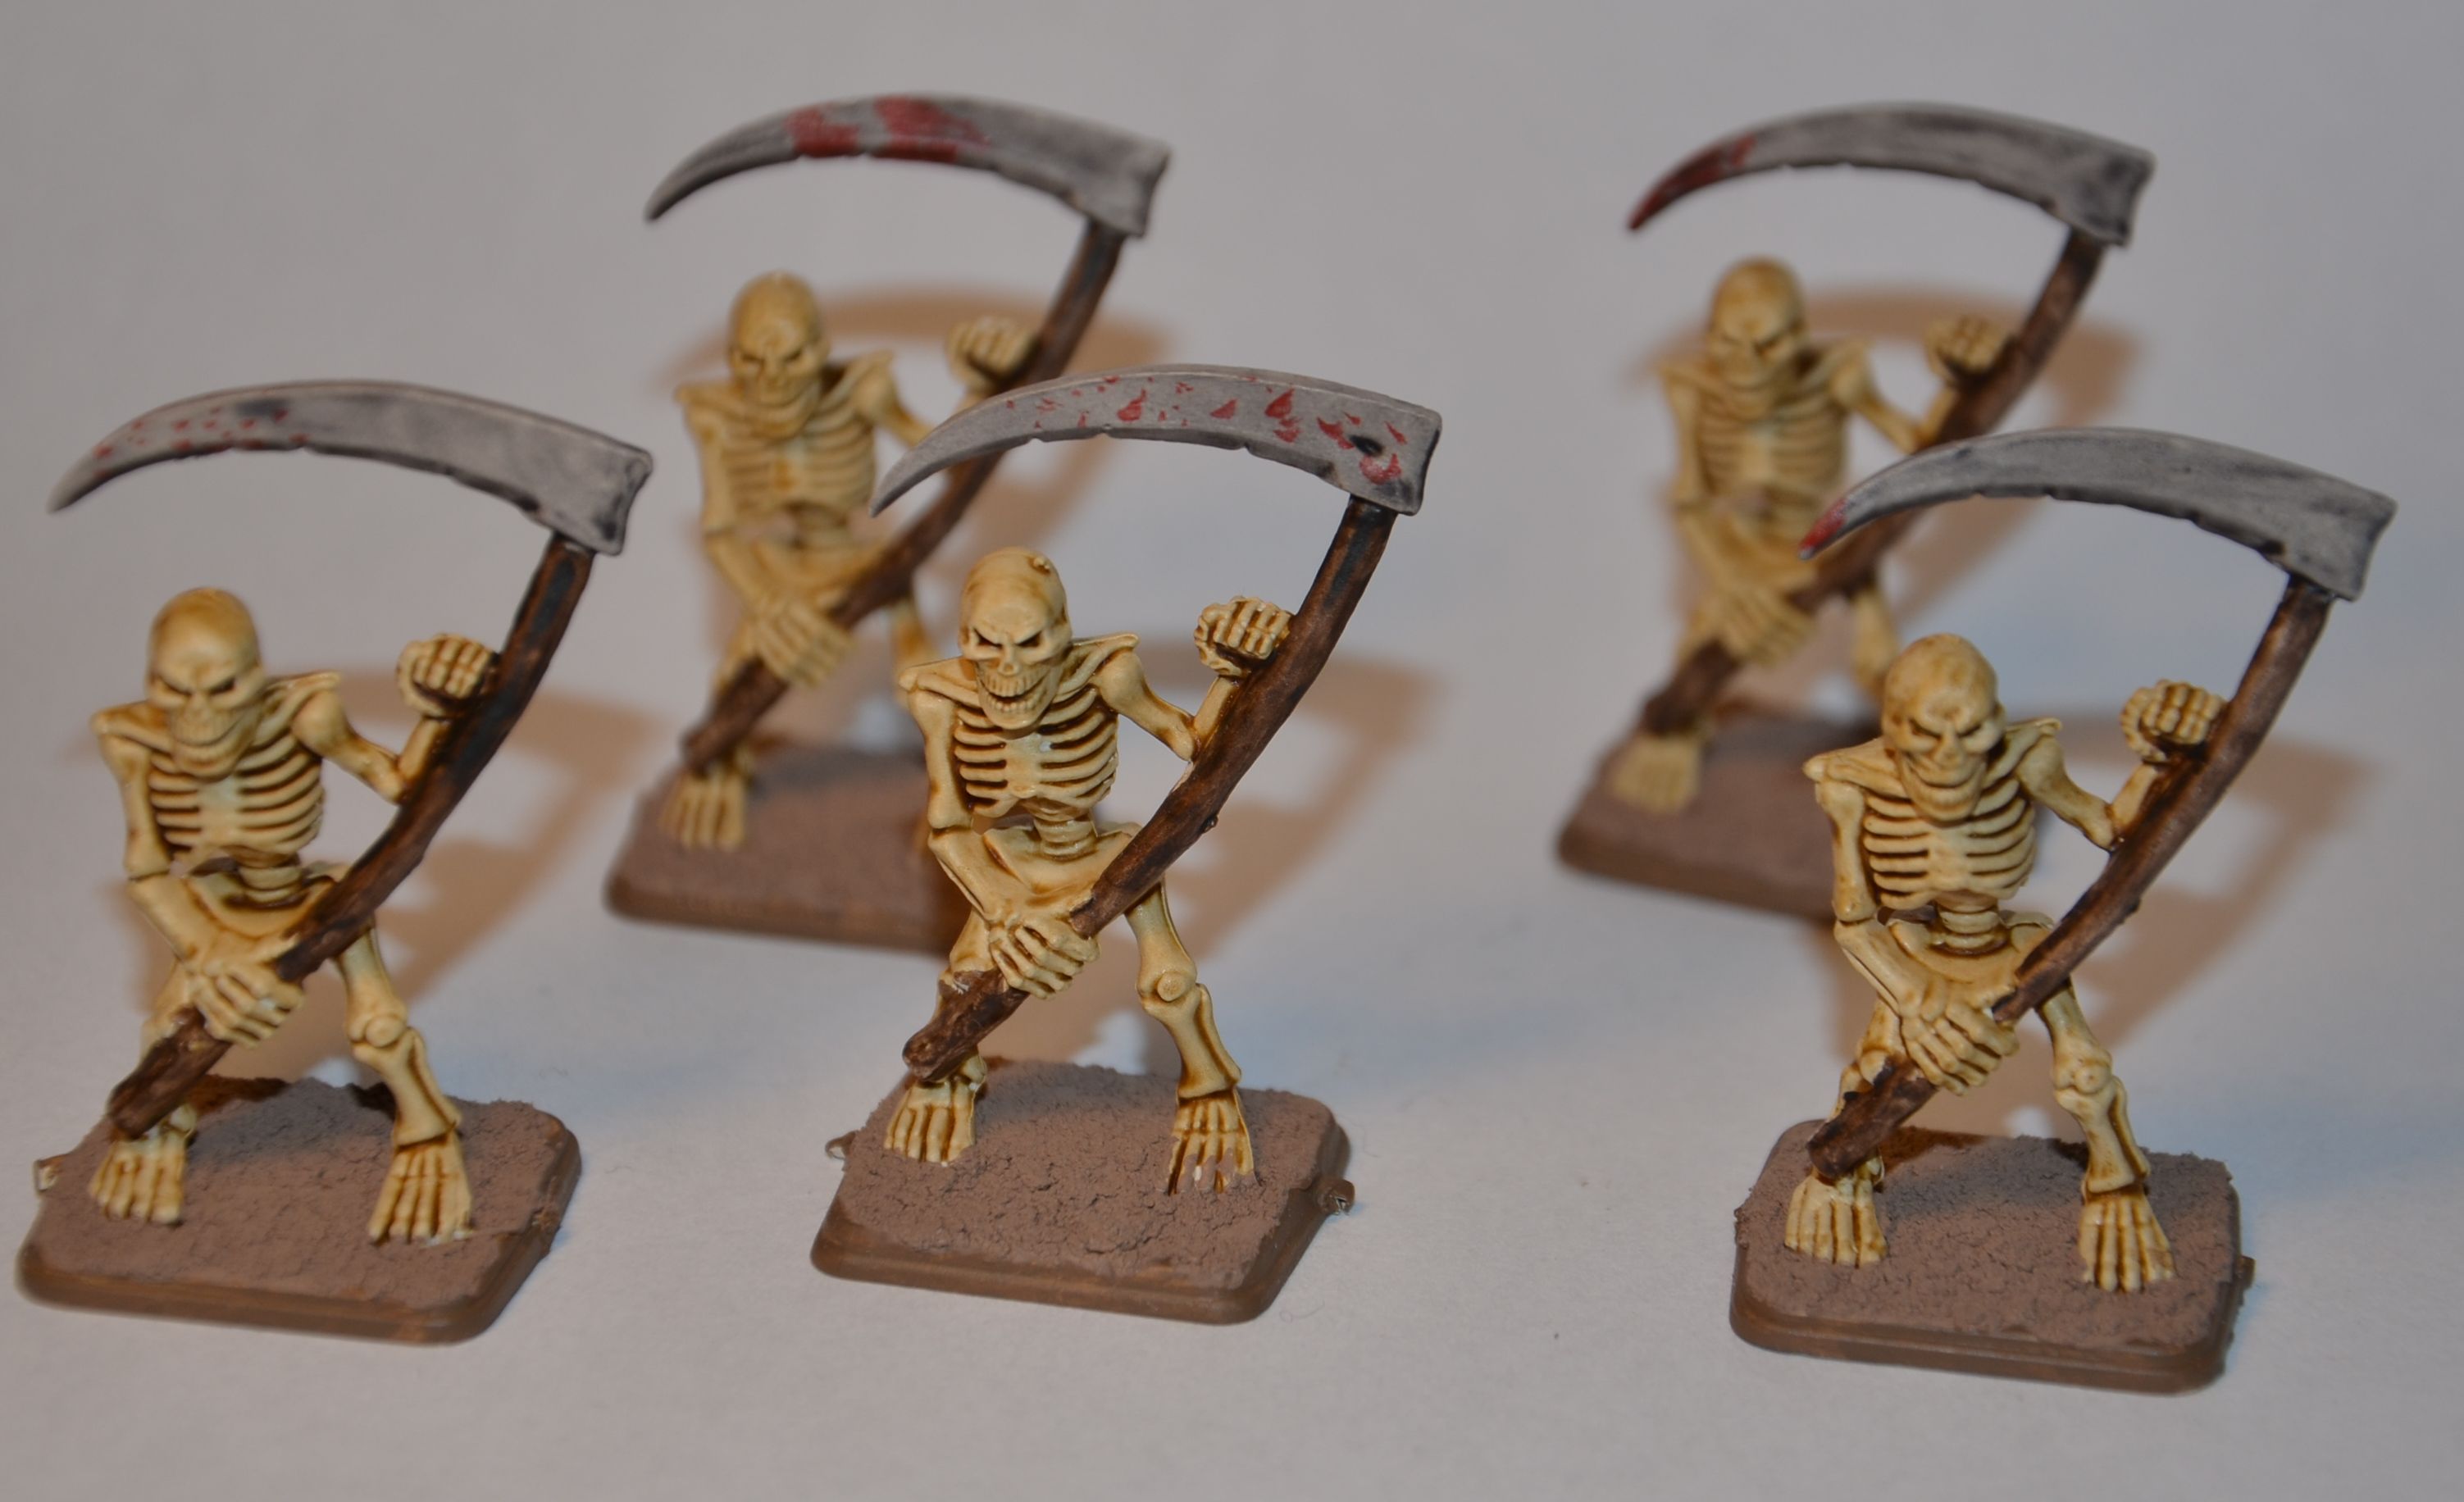
I really like how the brown shadows appear out of nowhere between the ribs of the skeletons and the bandages of the mummies.
I later added small blood-particles on all the weapons, using blood angels red and some random ‘paint splattering’.
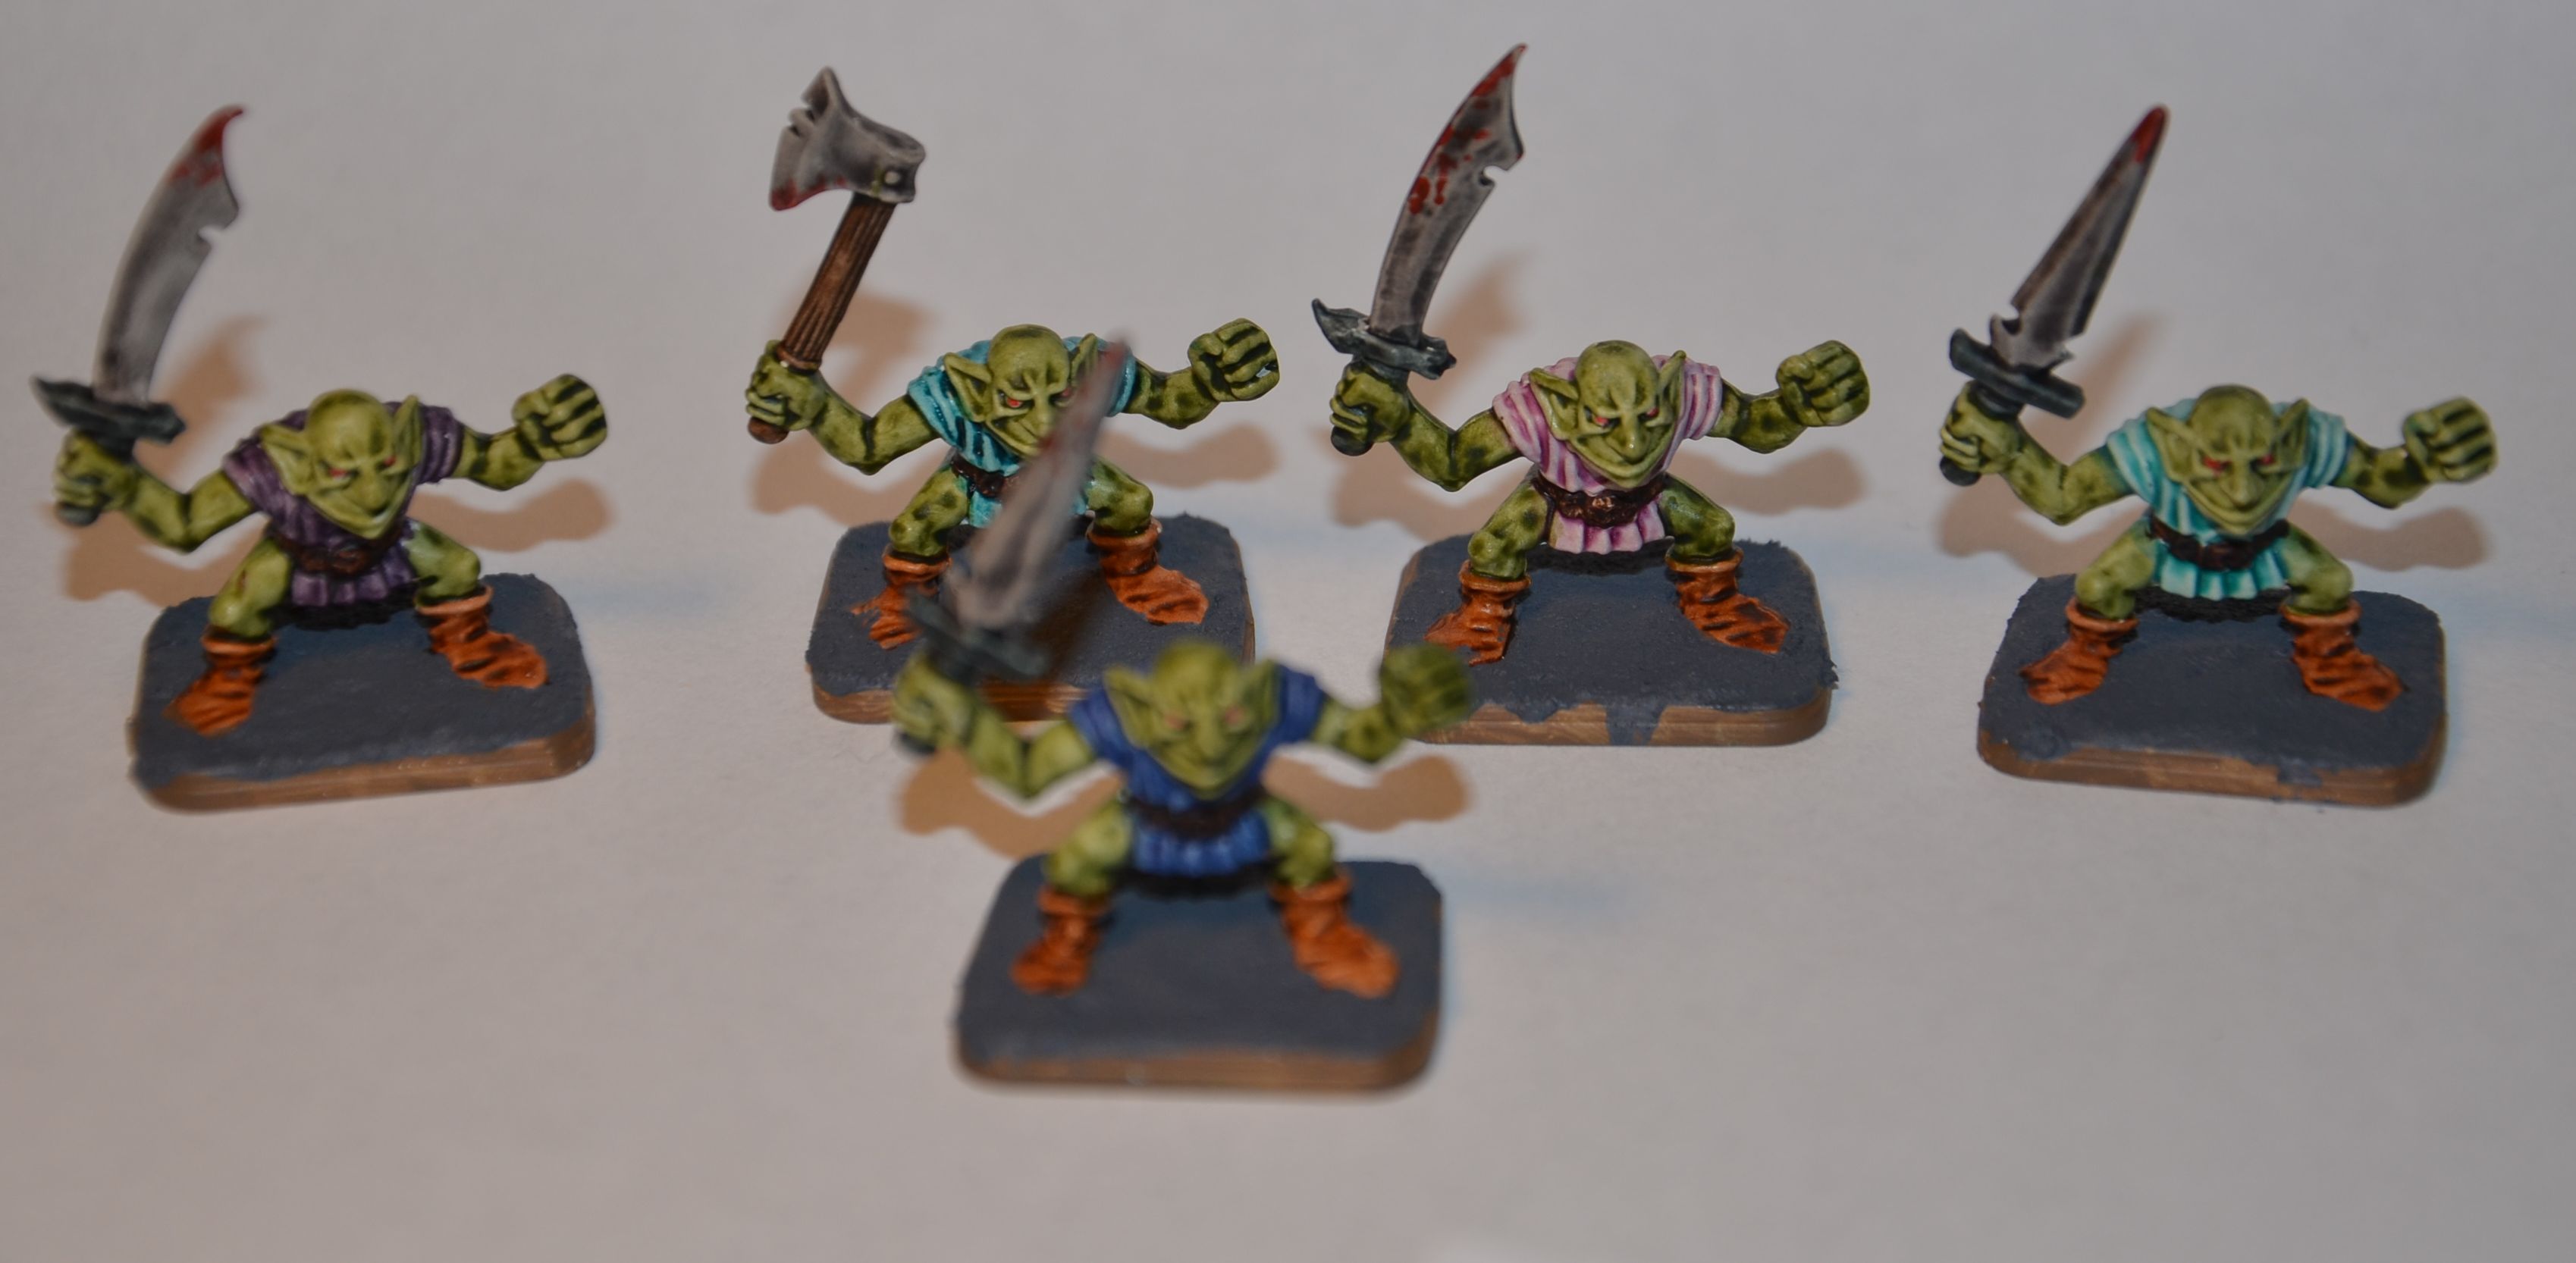
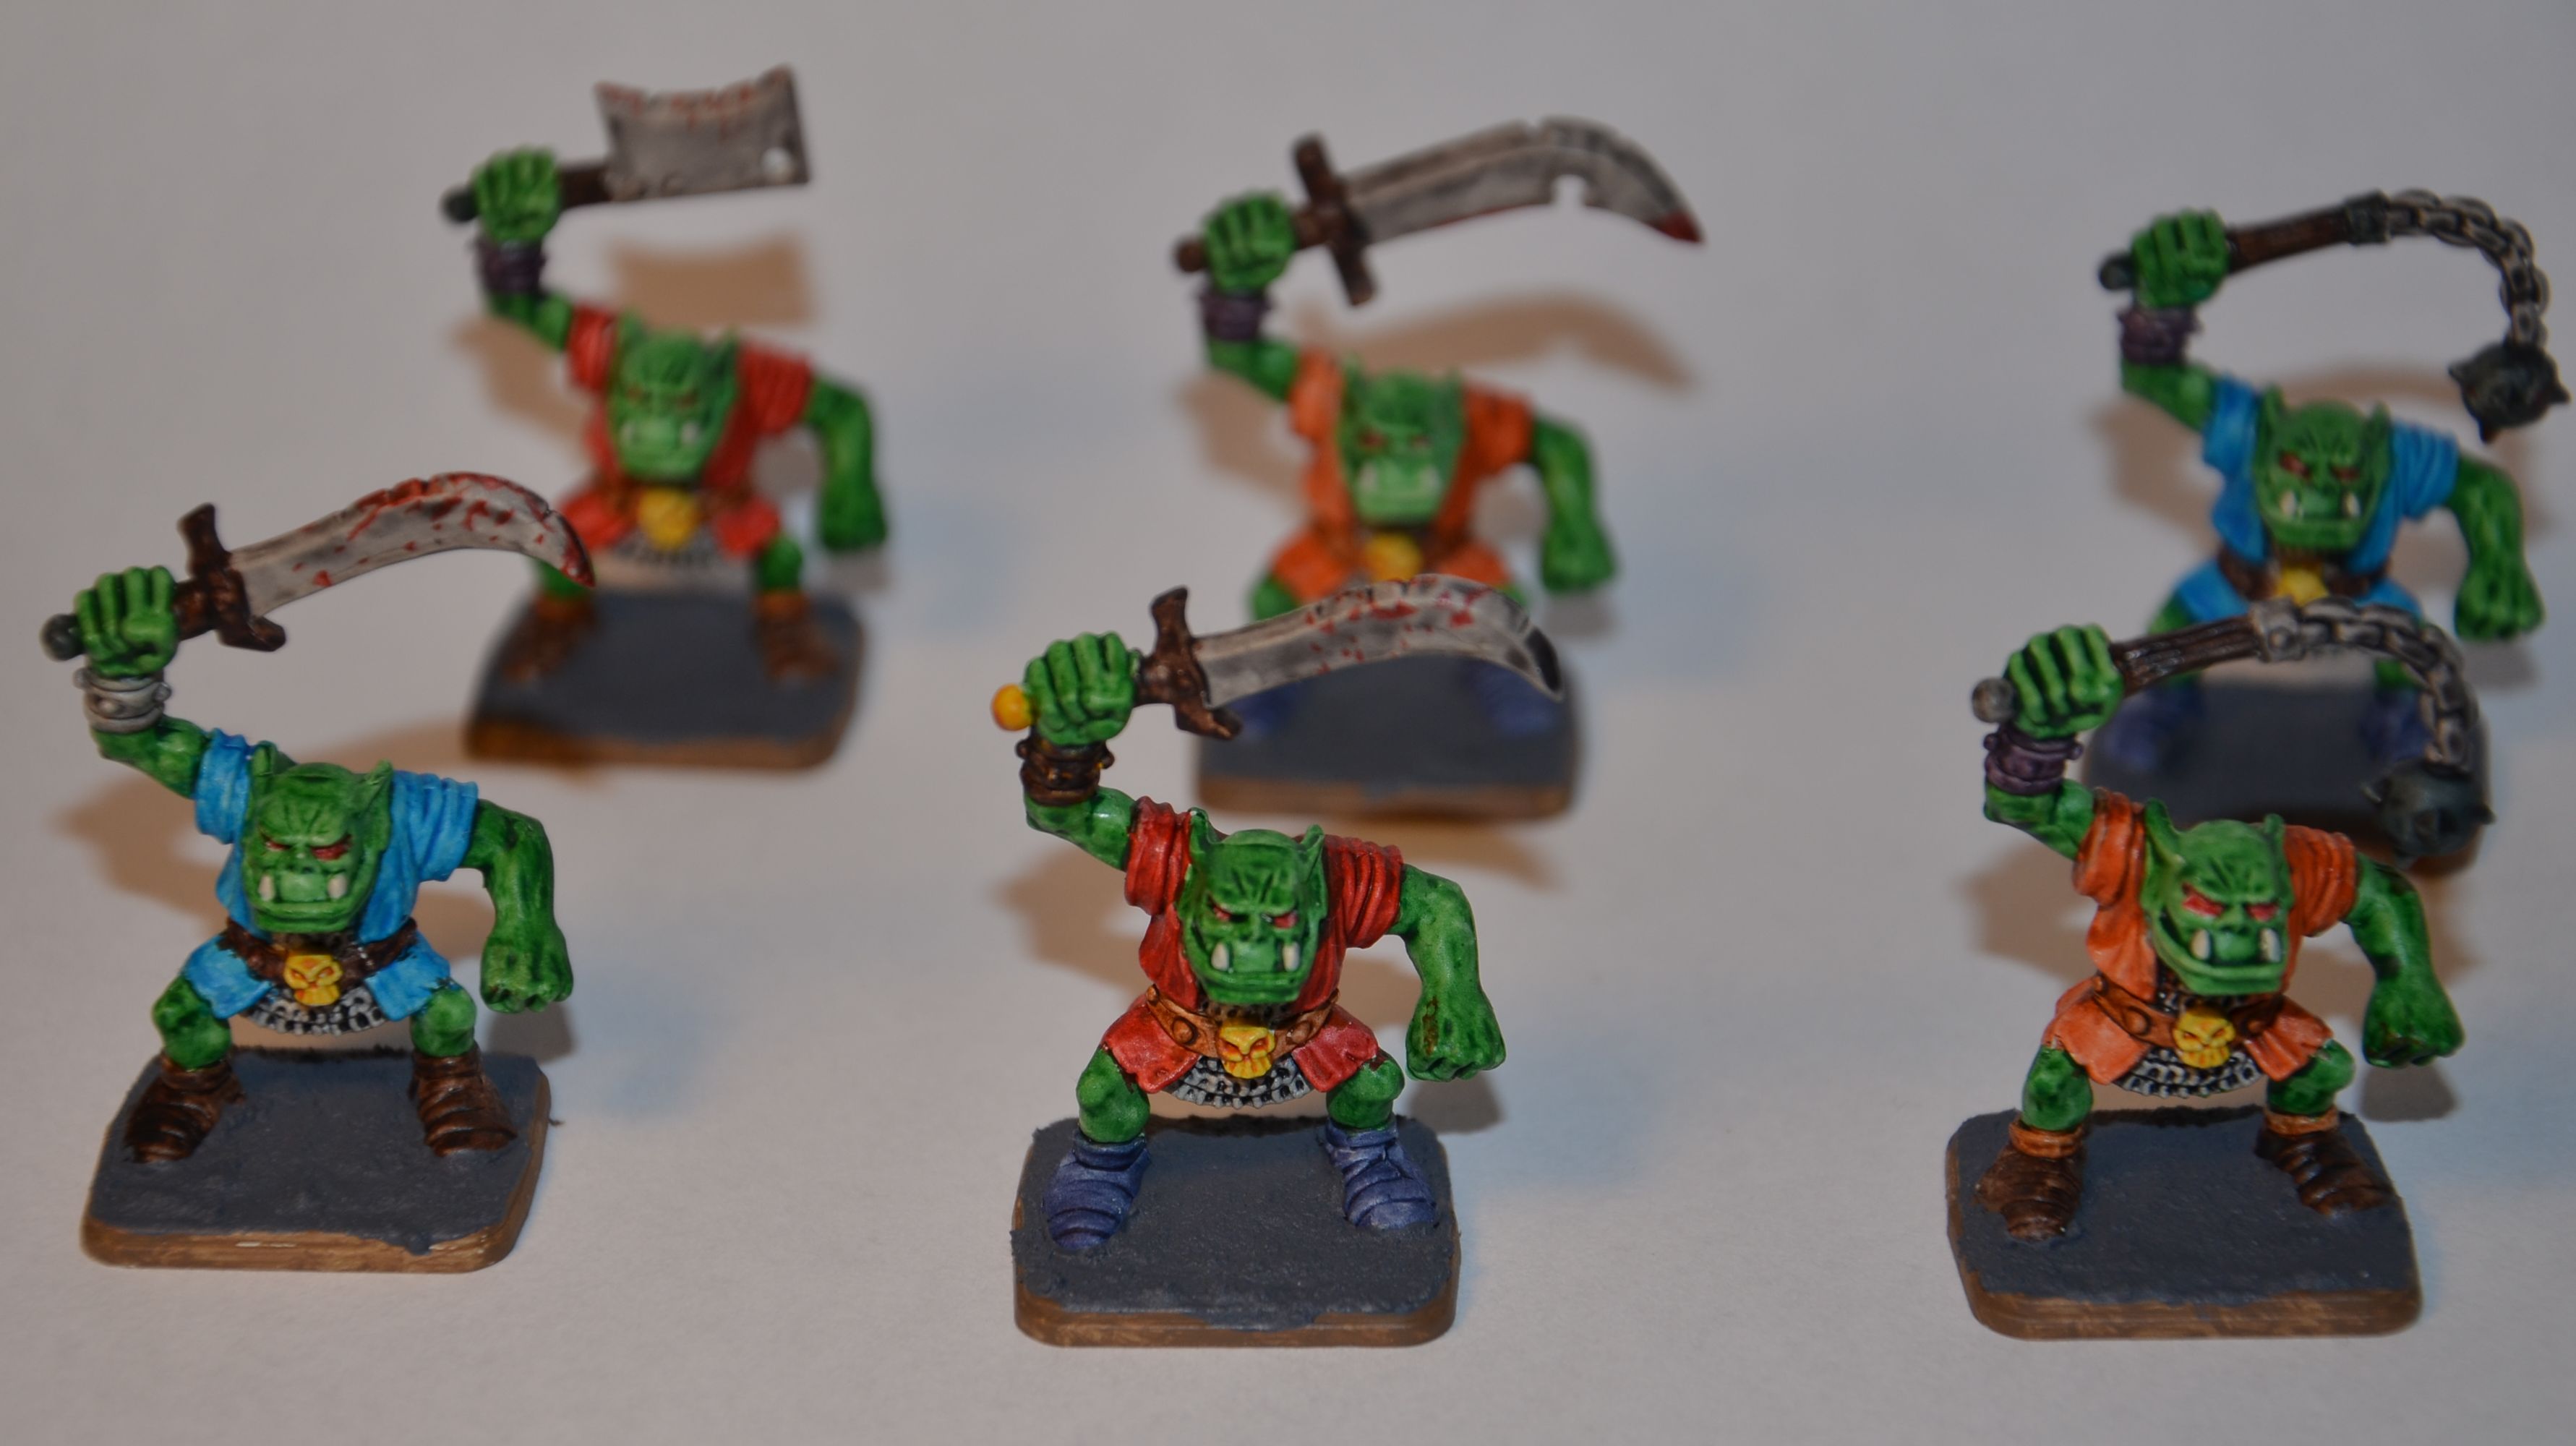
Orcs and kobolds
Next up where our big green friends, the orcs. I explicitly choose the orc flesh paint resulting in very cartoonish minis, which I really wanted. Some of the contrast paints are very bright and shiny, and so I choose those colours to have several different shirts.
Chaos warriors and fimirs
These big boys were a tad more difficult. Especially the fimir, who have lots of tiny details and also a tail which organically ends in the body without having a clear ending.


Zombies
I love the “plague bearer flesh” paint, the name itself of course was meant to be used for the zombies. I tried to choose more faded colours for their shirts. Especially their hair was fun to do: one clear stroke and you immediately get nasty, unwashed hair.

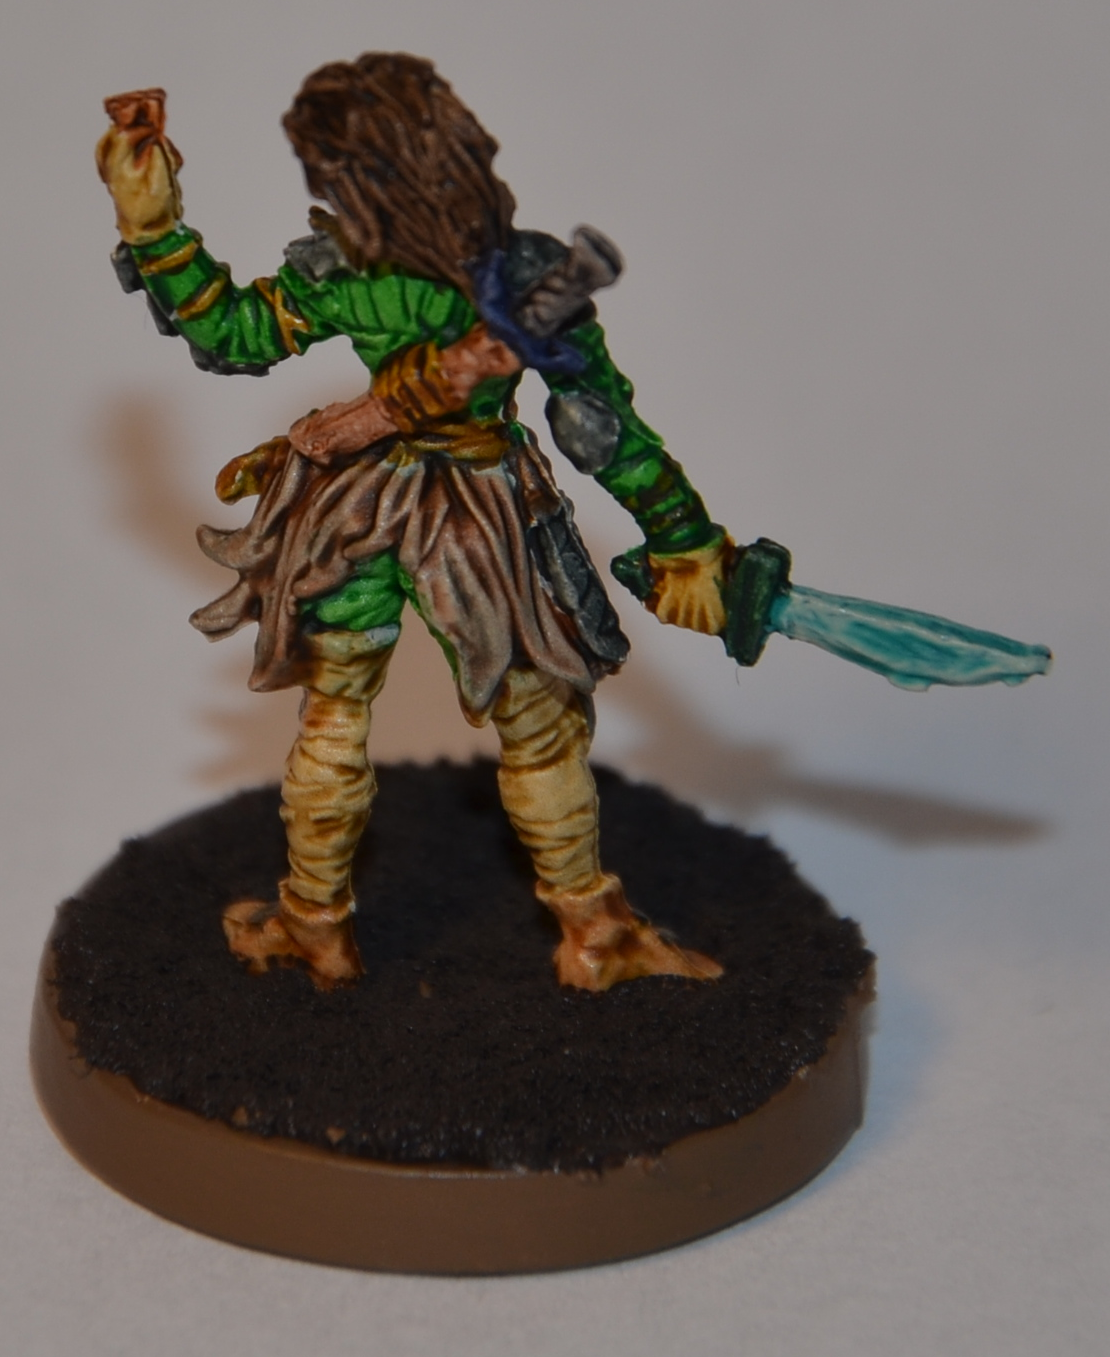
The barbarian
Three of the four heroes were already painted 25 years ago, I won’t show them here 😉 Only the barbarian was unpainted. Unfortunately, his sword was broken. Luckily, a friend is very skilled in creating prosthetics, etc and recreated a new broadsword for my son’s favourite hero. Look how badass he is!

The final boss: The witch master/ chaos Wizzard
Finally the big boss himself (notice that the gargoyle is under constructing: his wings were missing and are being remade), the witch master. I let my son choose the colour of his robe. The canon states that he should have a red robe as can be seen in the expansion (return of the witch master) but I really like how the bright Talassar blue came out. This mini was the hardest to do, not the least because of how important this fella is in-game. With the other figurines (the heroes not counting) you can always use your best-painted ones to put on the board and only bring it the ‘failed ones’ if there’s a really big army of monsters needed.
 That’s it?!

Hell no! I’m just getting started! First and foremost, the act of painting is really relaxing and I now understand why so many people do this for fun. Secondly, I really like how the minis are turning out to be. There are many skills I’d like to learn for this ‘profession’ but let’s not get too fanatic for now. What I really like to learn is how to highlight using a dry brush technique. I tried this on the devourer but failed miserably and was a bit ‘pissed’ that I had to repaint a large part because of one small test.
What’s in the pipeline now?
- There’s the “wizards of Morcar” expansion that I’m really looking forward to painting. I already primed the 4 wizards. The big army of mercenaries are not high on my wishlist for now
- I’ve started painting the Gloomhaven minis for a friend. They are way more detailed and a level up, but I really like how they are turning out to be. I’ll show them in a future post.

5 gedachten over “Painting HeroQuest miniatures with Citadel Contrast paints”